Switching to solar energy is a smart and sustainable decision. Whether you’re a homeowner planning to go solar, a student exploring renewable energy, or someone interested in DIY installation, understanding the tools used to install PV system is essential.
This blog breaks down the key tools professionals use when setting up a solar photovoltaic (PV) system. From mounting panels to testing power output, each tool plays an important role in ensuring a smooth and safe installation.
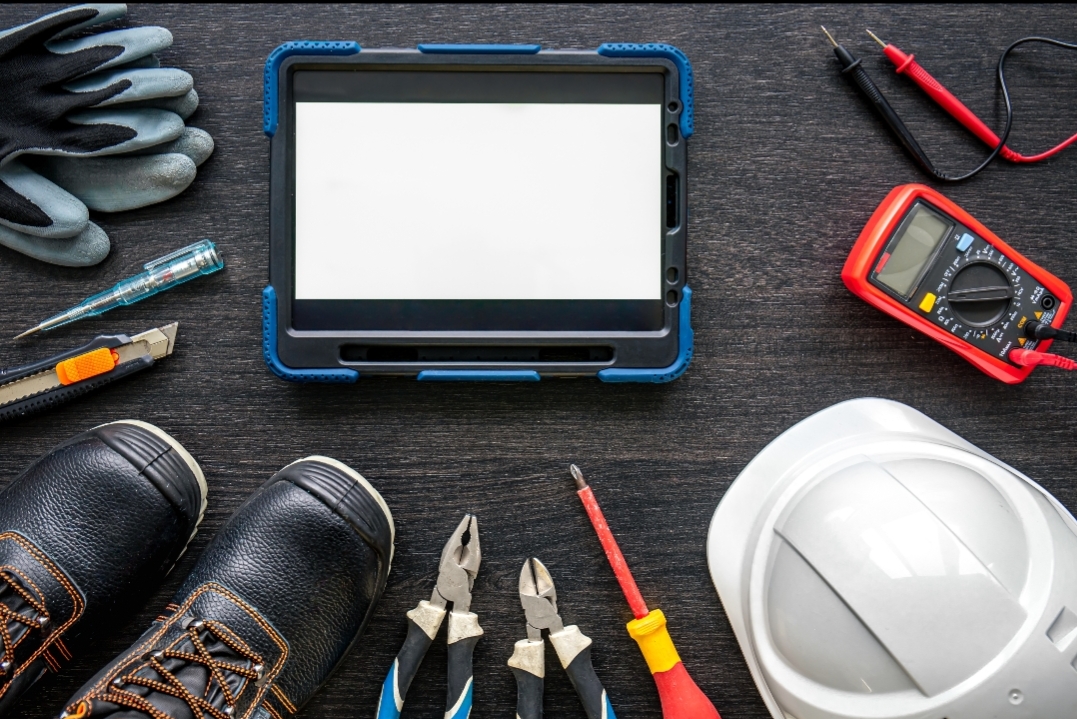
Why Do the Right Tools Matter? Tools Used to Install PV System
Installing a solar PV system isn’t just about putting panels on your roof. It’s a technical job that requires precision, planning, and safety. Using the correct tools:
- Ensures safe and secure installation
- Improves system performance
- Reduces risk of damage to equipment and property
- Helps complete the job efficiently and accurately
Let’s now look at the tools used to install PV system in detail.
1. Basic Hand Tools in PV System
Every installer needs basic tools to start with:
- Screwdrivers (flat and Phillips): For tightening or loosening panel brackets and screws
- Wrenches and Spanners: Essential for tightening bolts and mounting hardware
- Pliers and Wire Cutters: For gripping, cutting, and bending wires
- Measuring Tape: To mark out panel placements accurately
- Hammer: For mounting rail supports or frames
These tools may be basic, but they form the backbone of every solar installation project.
2. Mounting and Drilling Tools
Solar panels must be properly secured to a structure using mounting systems. Here’s what helps:
- Cordless Drill or Impact Driver: Used to drill holes into roofs or walls to attach panel mounts
- Drill Bits and Anchor Bolts: To secure mounting structures based on surface type
- Level Tool (Spirit Level or Laser): Ensures panels are mounted flat for maximum sunlight absorption
- Chalk Line or Marker: Helps outline panel alignment on the surface
The accuracy of these tools affects both panel performance and safety.
3. Electrical Tools
Wiring is the heart of a PV system. These electrical tools are used to make safe and efficient connections:
- Multimeter: Measures voltage, current, and continuity during installation
- Clamp Meter: Measures current without disconnecting wires
- Crimping Tool: Used to attach connectors to cables securely
- Wire Strippers: Remove insulation from wires without damaging the conductor
- MC4 Connector Tool: A special tool to connect solar panel wiring properly and tightly
Each of these helps ensure that the electricity generated flows properly and safely.
4. Personal Protective Equipment (PPE)
Solar installers work at heights and around live wires, so safety comes first:
- Helmet: Protects from falling tools or slips
- Harness: Essential for rooftop work
- Gloves (Insulated): Protect from electrical shocks
- Safety Glasses: Shield eyes from debris
- High-Grip Shoes: Prevent slips on rooftops
These are non-negotiable tools for every responsible installer.
5. Testing and Measuring Tools
Once everything is installed, systems need to be tested for performance and safety:
- Solar Irradiance Meter: Measures the intensity of sunlight at the installation site
- IV Curve Tracer: Analyzes panel output and checks for performance losses
- Insulation Resistance Tester (Megger): Tests wiring insulation to prevent electrical faults
- Continuity Tester: Confirms proper circuit completion
- Thermal Camera: Detects hot spots or faulty connections on panels and inverters
Testing is the final but most important phase before turning the system on.
6. Installation Accessories and Essentials
Beyond core tools, some additional materials make installations cleaner and more professional:
- Cable Ties: Organize and secure loose wires
- Conduits or Ducts: Protect wiring from weather and wear
- Labels or Markers: Identify wires and connections
- Ladder or Scaffold: For safe access to rooftops
- Tool Bag or Box: Keeps all gear organized and easy to carry
These small things make a big difference in project quality.
Summary: Must-Have Tools Checklist
Here’s a handy checklist of tools used to install PV system:
| Category | Examples |
| Basic Hand Tools | Screwdrivers, wrenches, pliers |
| Mounting Tools | Drill, bolts, level tool |
| Electrical Tools | Multimeter, clamp meter, crimping tool |
| Safety Equipment | Helmet, harness, gloves |
| Testing Equipment | IV tracer, irradiance meter, insulation tester |
| Installation Accessories | Cable ties, labels, conduits, ladder |
Who Should Know About These Tools?
This guide is useful for:
- Homeowners looking to understand the solar installation process
- Aspiring solar technicians or engineering students
- DIY solar enthusiasts planning small-scale systems
- Project managers overseeing solar installations
Understanding these tools gives you the confidence to ask the right questions and appreciate the installation process.
Final Thoughts & Call to Action
Installing a solar PV system requires the right mix of tools, expertise, and safety. From tightening the first bolt to testing the last wire, each tool plays a crucial role. Whether you’re supervising a project or learning the trade, knowing the tools used to install PV system will help you better plan, understand, and succeed in your solar journey.
Ready to go solar? Make sure your installer uses certified tools and follows best practices for a safe and efficient system. 📩 Have questions? Drop a comment or contact us today to learn more about getting started with solar energy!
Follow Profitpiligrim for more news.