
Installing solar panels is one of the smartest decisions homeowners can make today. Not only do solar panels cut down on energy bills, but they also reduce your carbon footprint and increase your property value. In this guide, you’ll learn everything you need to know about solar panel installation — from planning to powering up.

Why Install Solar Panels?
Homeowners are turning to solar energy for several powerful reasons:
- Reduce electricity bills dramatically
- Increase home value with a clean energy system
- Earn tax credits and rebates from the government
- Protect against rising utility rates
- Lower carbon emissions and help the environment
Step-by-Step Solar Panel Installation:
Step 1: Assess Your Energy Needs
Before you install solar panels, calculate how much electricity you use.
- Check your electricity bill for average monthly usage in kilowatt-hours (kWh)
- Consider future energy needs, such as EV charging or appliance upgrades
- Decide whether you want to offset all or part of your energy use
Step 2: Evaluate Your Roof and Location
Solar panels work best under direct sunlight. Analyze your roof’s condition and sun exposure.
- Ensure your roof is in good shape (no leaks or damage)
- Check the direction — south-facing roofs receive the most sunlight
- Clear away trees or obstructions that block the sun
- Measure available space for panel placement
Step 3: Choose the Right Type of Solar Panel
You can select from three main types of solar panels:
- Monocrystalline panels – Efficient and space-saving
- Polycrystalline panels – Cost-effective and slightly less efficient
- Thin-film panels – Lightweight and flexible
Choose the panel type that suits your budget, space, and efficiency goals.
Step 4: Select a Solar Panel Installer
Always hire a certified and experienced solar installer.
- Look for NABCEP certification
- Read customer reviews and check portfolios
- Ask about warranties, maintenance, and financing options
- Get multiple quotes to compare pricing and services
Step 5: Obtain Permits and Approvals
Your installer will typically handle this step, but here’s what happens:
- They apply for local permits from your city or municipality
- They submit plans to your utility company
- You may need HOA approval if applicable
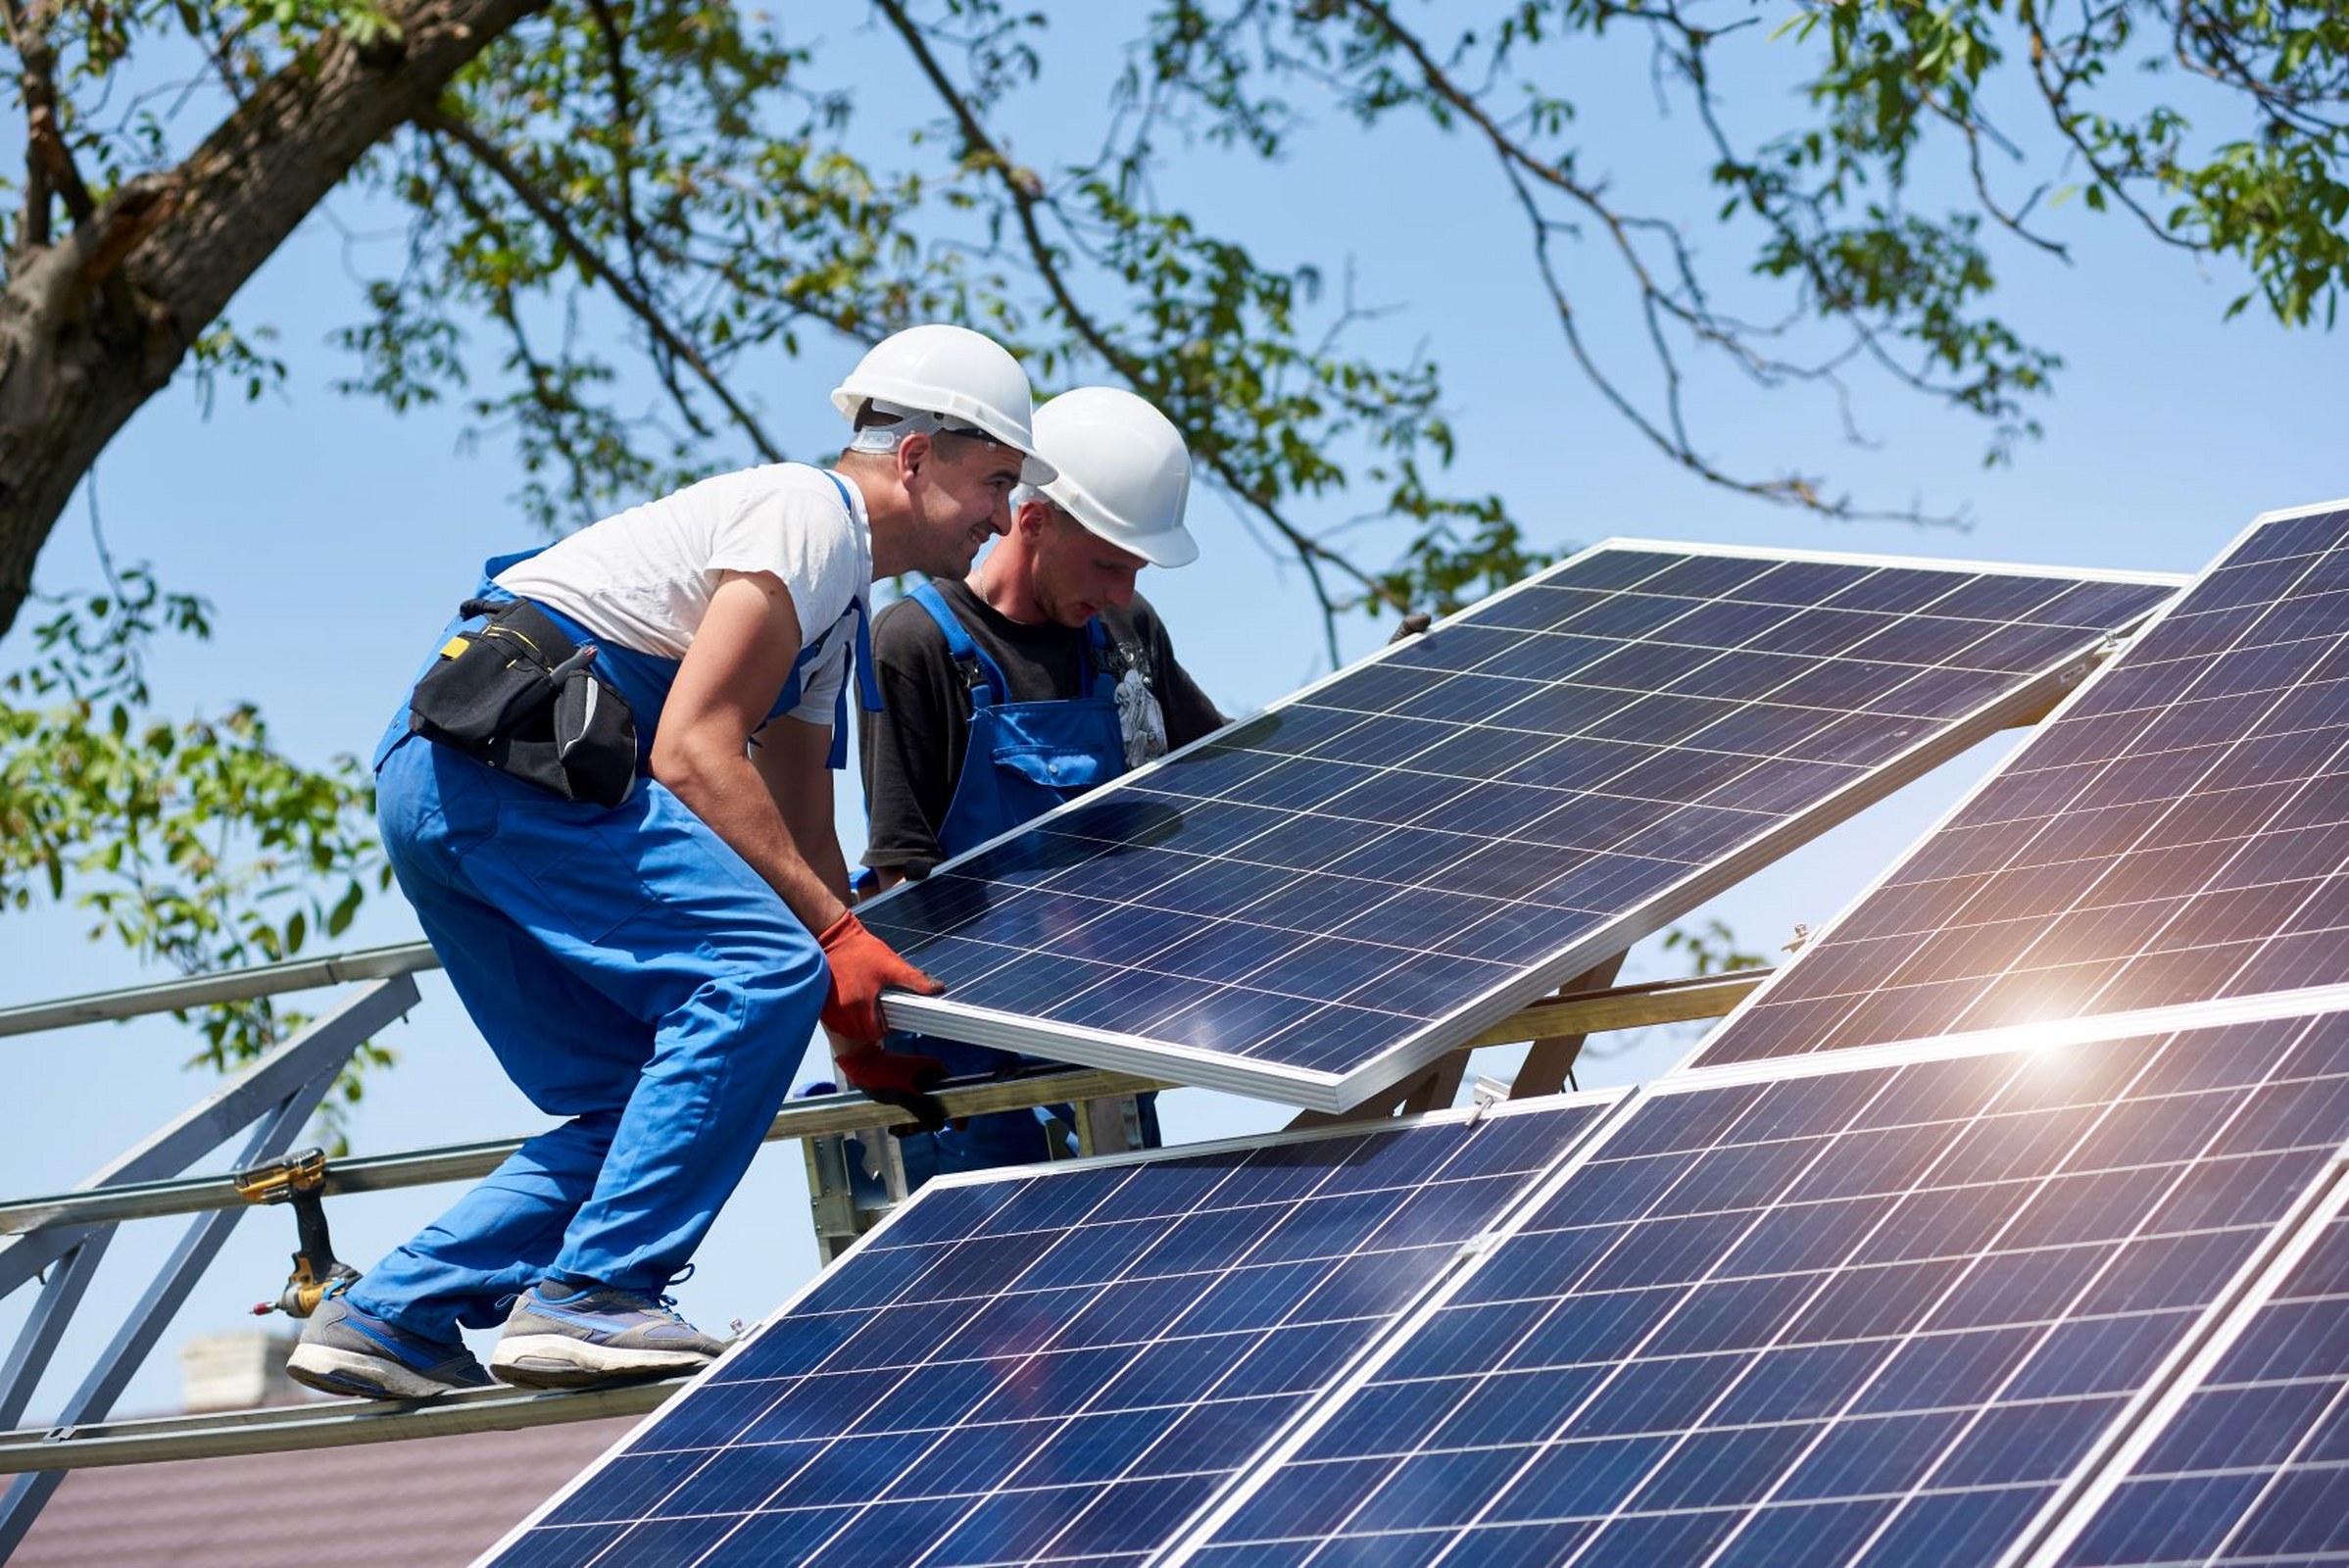
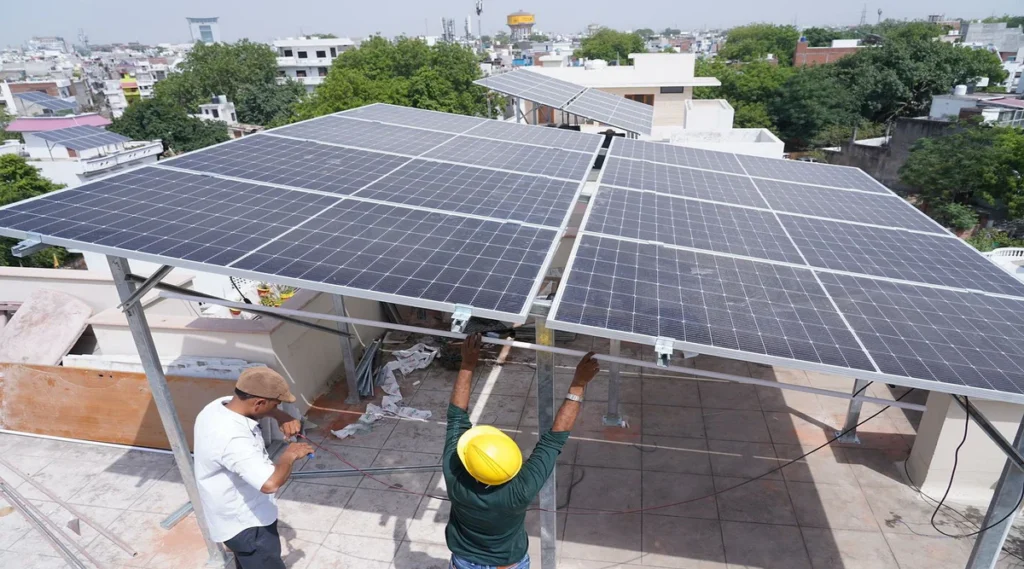
Step 6: Solar Panel Installation Day
The installation process usually takes 1–3 days. Here’s what to expect:
- Technicians install mounting equipment and panels
- They connect the solar inverter to your electrical panel
- They test the system for performance and safety
- You receive instructions and monitoring tools
Step 7: Inspection and Activation
Before you start generating power, the system must pass a final inspection.
- A local inspector checks for code compliance
- Your utility company connects your system to the grid
- Once approved, you can officially switch to solar energy
Step 8: Monitor and Maintain the System
Keep your system running efficiently with regular checks.
- Clean the panels every 6–12 months
- Schedule periodic maintenance (every 2–3 years)
- Monitor performance using the app provided by your installer
Conclusion: Make the Switch to Solar Today
Solar panel installation is a smart, long-term investment. With the right planning and professional help, you can enjoy clean, reliable, and cost-effective energy for decades. Start your journey today and let the sun power your future.
Follow Profitpiligrim for more news.
1 thought on “A Complete Guide to Solar Panel Installation: Power Your Home with the Sun”